
Dragon Tower Defense Combat Controls, Upgrades and Wave Settings
Manage your defense with target priorities, battle Cash, upgrades and wave controls. Use the selected dragon’s panel for individual actions and the top HUD for wave pacing and match speed.
Select a deployed dragon, then press T to change its target priority, E to buy its next Upgrade or Evolve, or X to sell it for the displayed Cash return. Auto Skip controls wave advancement; the speed menu controls combat pace. Turn them down while building under pressure, and use an available revive before the Castle Destroyed countdown expires.
Battle HUD and Deployment Limits
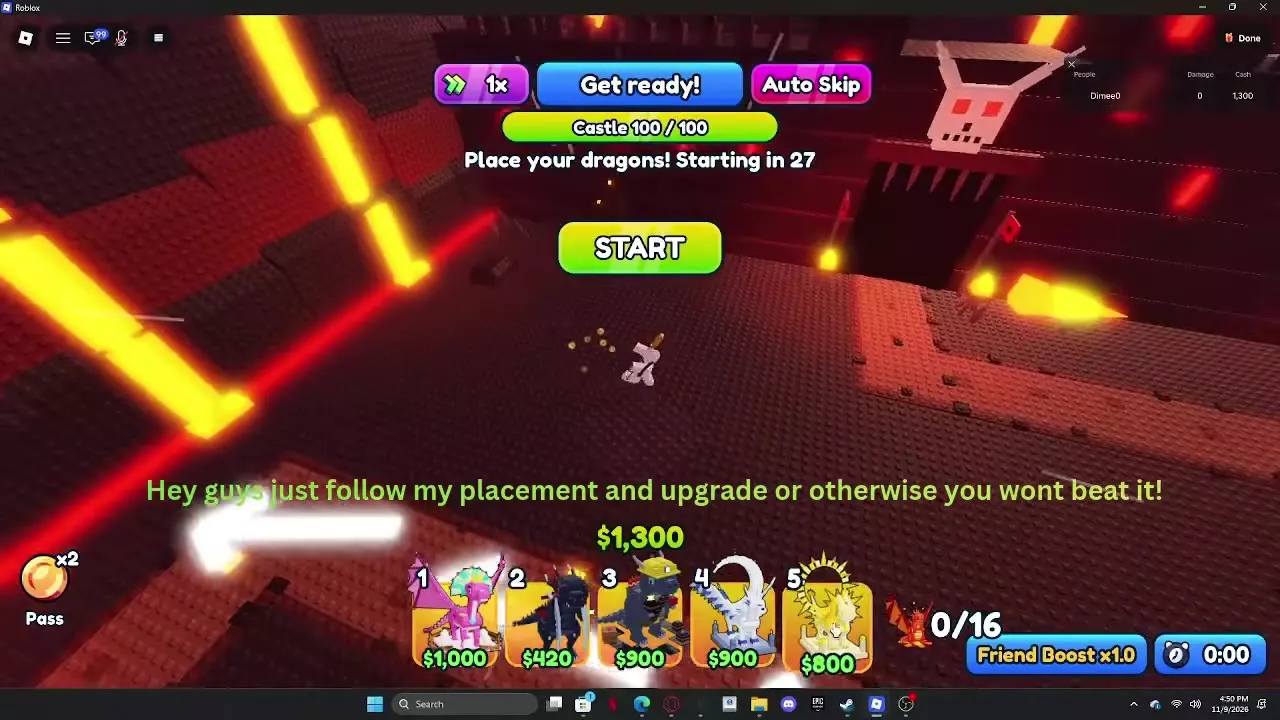
Enter a map with your dragons equipped, then choose a dragon from the bottom bar to begin placing it. During preparation, use the deployment countdown to establish your opening defense; press START when ready.
Dragons automatically attack enemies within their effective attack area. Enemies follow the route toward the castle, and those that break through can reduce its health. Watch these HUD readings together:
| Reading | Meaning |
|---|---|
| Castle HP | Objective health |
| Wave | Current wave progress |
| Enemies left | Remaining enemies |
| Cash | Battle spending money |
| Deployment counter | Deployed / capacity |
Spend Cash on deployment, upgrades and evolution. Gold and Gumball generate battle Cash, but buying income units uses money that could otherwise fund immediate defense. Establish enough attacking coverage before committing heavily to income.
Starting budgets and capacity depend on the match. These opening setups have different values:
| Opening setup | Starting Cash | Capacity |
|---|---|---|
| Sunny Meadow · Easy | $600 | 16 |
| Pirate Cove · Hard | $600 | 16 |
| Volcano Fortress · Nightmare | $1,300 per player | 16 |
| Candy Army · initial capacity | — | 24 |
Sunny Meadow starts with a 100/100-HP castle. Candy Army instead protects a Candy Core with 100/100 HP; its 24-unit opening capacity is separate from the permanent Bigger Team upgrade.
A dragon’s own placement cap can stop deployment before the overall counter is full. Gold, for example, has a maximum of four Gold Dragons. Read both the available capacity and the selected dragon’s restrictions before budgeting another placement.
After clearing enemies, use the next-wave countdown to add defenders or buy the next upgrade.
Target Priority
- Select a deployed dragon.
- Find the target-priority button beside the T shortcut.
- Click the control or press T to cycle through its choices.
- Read the new target label, then watch where the dragon aims.
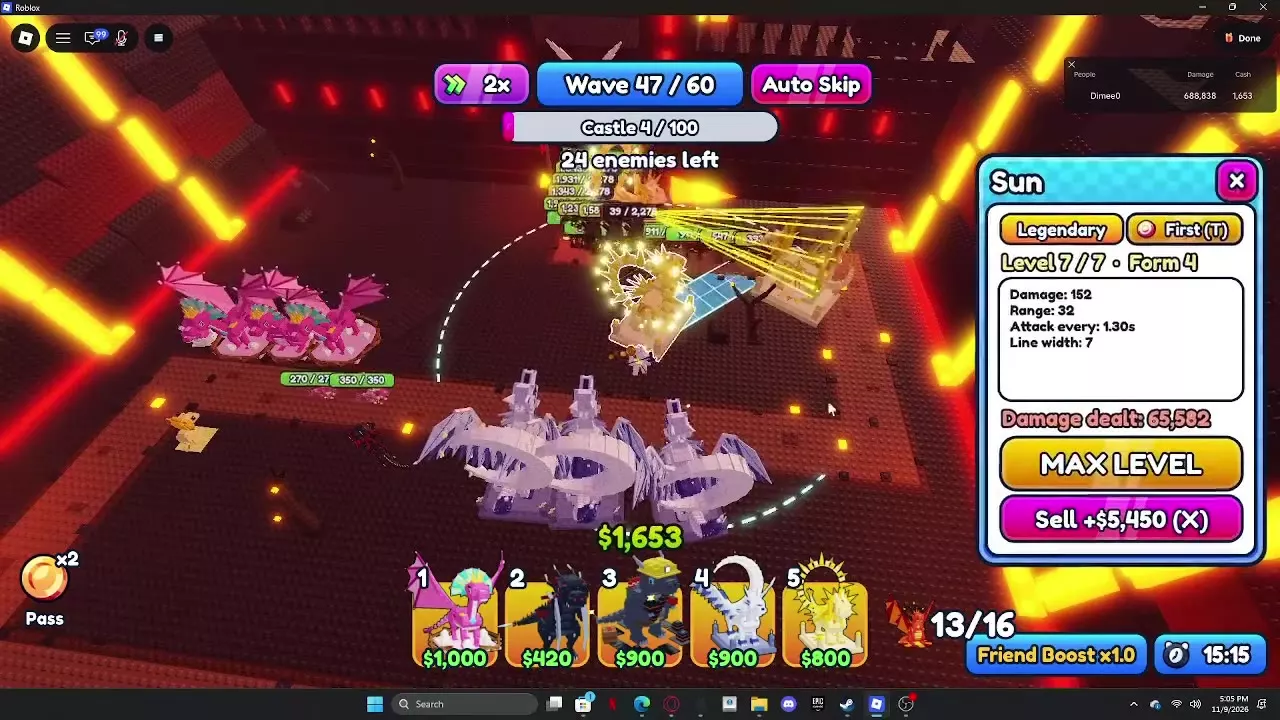
Sun’s control cycles through First, Last, Strongest and Weakest. Different deployed copies can use different priorities, so you can give two copies separate jobs.
| Priority | Suggested role |
|---|---|
| First | Frontmost threat |
| Last | Rear targets |
| Strongest | High-health threats |
| Weakest | Low-health cleanup |
Use Strongest on an attacker assigned to a boss, while leaving another copy on First or Weakest to handle ordinary enemies. Choose according to the dragon’s attack shape and the enemies it can actually reach: selecting a boss priority does not extend its range.
Moon’s choices include First, Strongest and Random. On Candy Army’s spiral route, set a max-level Fire to Last while other dragons stay on First. Fire will aim toward the rear of the group within its reach while the others attack the front. Watch both sides of the spiral for enemies getting through.
Rock also has nearest-target and random-target choices. Use the options offered by the selected dragon rather than assuming every dragon has the same set.
Movement and Display Settings
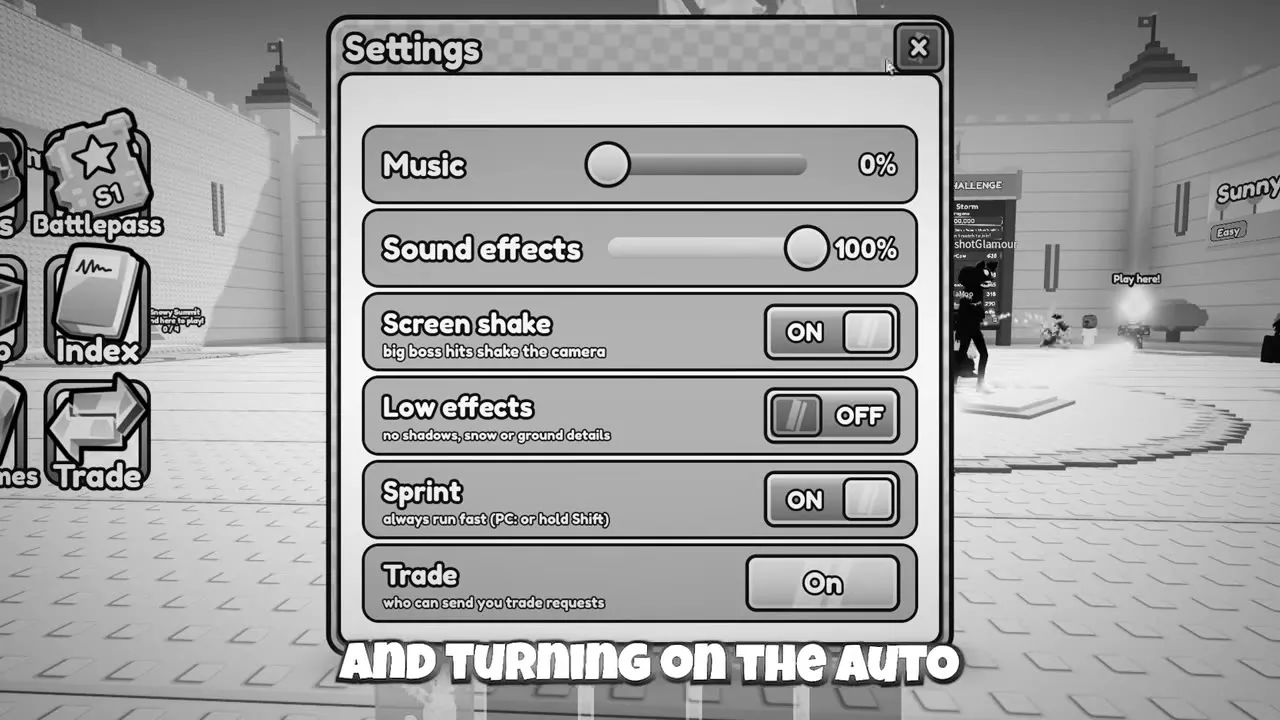
Open Settings to adjust movement, audio and visual effects.
| Setting | Effect |
|---|---|
| Sprint ON | Continuous fast running |
| Music | Music volume |
| Sound effects | Effects volume |
| Screen shake OFF | Removes camera shake |
| Low effects ON | Reduces scenery detail |
On PC, you can also hold Shift to run quickly. Turn Sprint on if you want to move between defensive positions without holding the key. Double jump to reach a higher viewpoint and look over your deployed defense.
Turn Screen shake off to remove camera shaking from large boss attacks. Enable Low effects to remove shadows, snow and ground detail. In Settings, use Hide Dragons to control the visibility of other players’ dragons. Its options include None.
Read range when the boundary is obscured
Select a dragon to display its range area and read Range in its panel. Moon’s range boundary can be covered by the track, making part of the line difficult to see. A hidden section of that boundary does not by itself mean the dragon has lost range; use the numeric value alongside the visible attack area.
Upgrade and Evolve
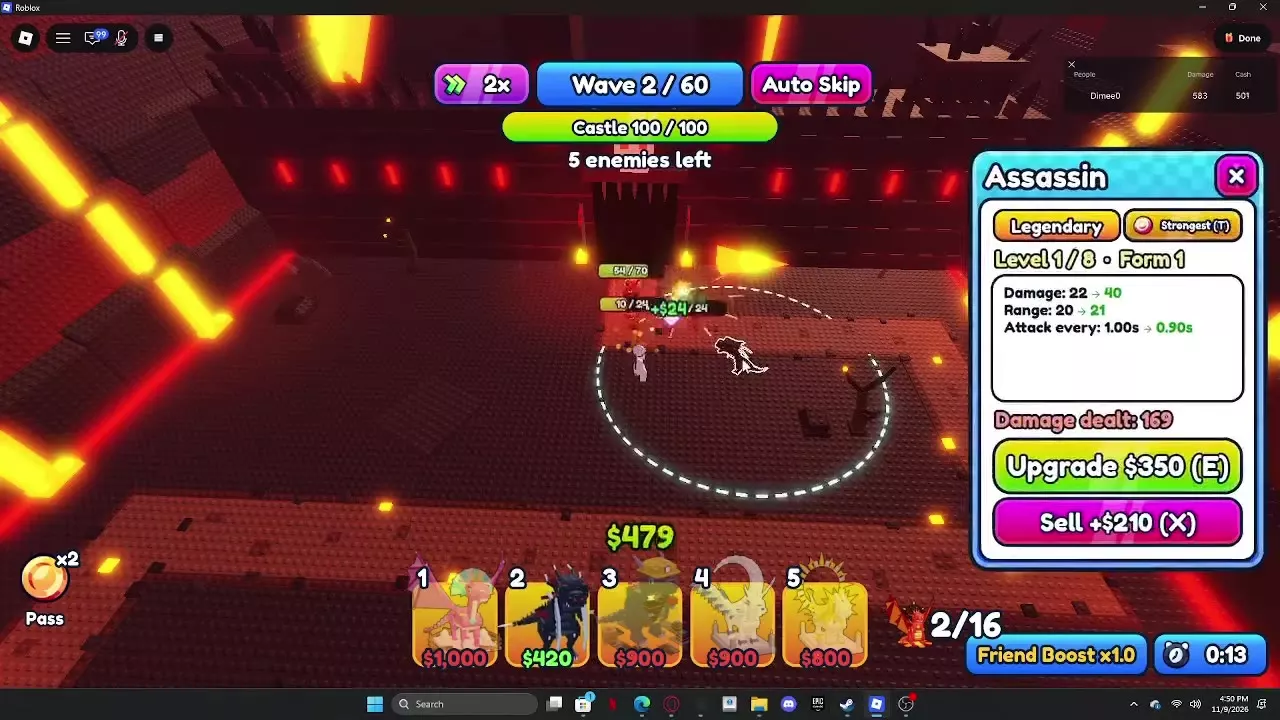
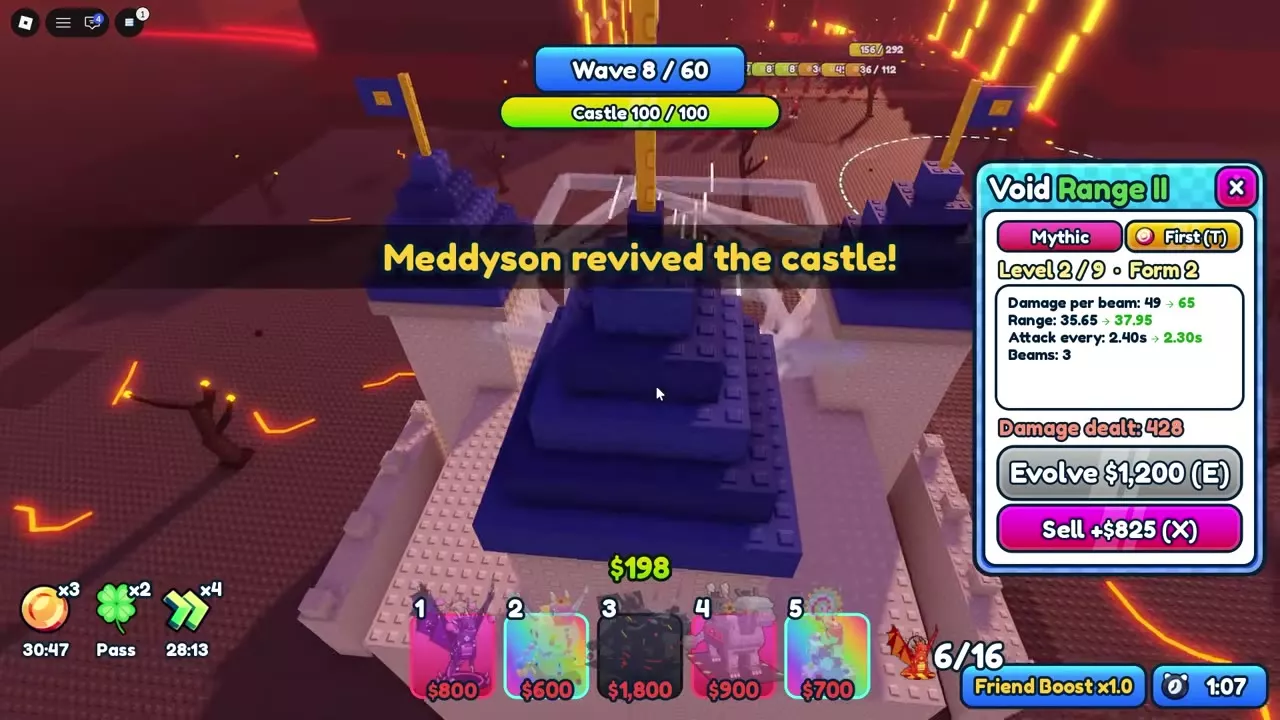
Both Upgrade and Evolve spend battle Cash to advance the selected deployed dragon. Evolve advances its form as well as its level; Upgrade can increase its level while keeping the same form. Both use E.
- Select your deployed dragon and read its current Level and Form.
- Compare the current attributes with the next-stage preview, including damage, range and attack interval.
- Read the price on the Upgrade or Evolve button.
- Click that button or press E once you have enough Cash.
- Check the updated level, form and current attributes before buying again.
The values after the arrows are the next purchase’s preview. They become active after that purchase succeeds.
Compare upgrade costs in Unit Manager
Open Unit Manager during battle to see each deployed copy’s current level, next level and upgrade cost on its own row. If two rows have the same name, compare their levels before spending Cash. For example, a Level 1 Rock costs 325 Cash to reach Level 2, while a Level 4 Rock costs 925 Cash to reach Level 5. Select the copy you want on the battlefield and use its upgrade control.
How level and form differ
Leaf evolves from Level 1, Form 1 to Level 2, Form 2 for $150. Its next $250 Upgrade reaches Level 3 while retaining Form 2, and the following $400 Upgrade reaches Level 4. Evolution points, maximum levels and form counts depend on the dragon.
Read every attribute before evolving
Assassin’s $550 Evolve from Level 2 to Level 3 changes its attack profile sharply:
| Attribute | Level 2 · Form 1 | Level 3 · Form 2 |
|---|---|---|
| Damage | 40 | 750 |
| Range | 21 | 12 |
| Attack interval | 0.90 s | 12.00 s |
The much larger hit comes with shorter reach and a much longer wait between attacks. Before buying it, make sure other defenders can handle enemies between Assassin’s attacks and that its new range still covers the intended road section. Damage alone does not describe the change.
If you cannot afford the purchase, Not enough cash appears. Save for the displayed price or fund another defender that addresses the immediate threat. At the dragon’s cap, the button displays MAX LEVEL.
Auto Skip and Match Speed
Control wave advancement
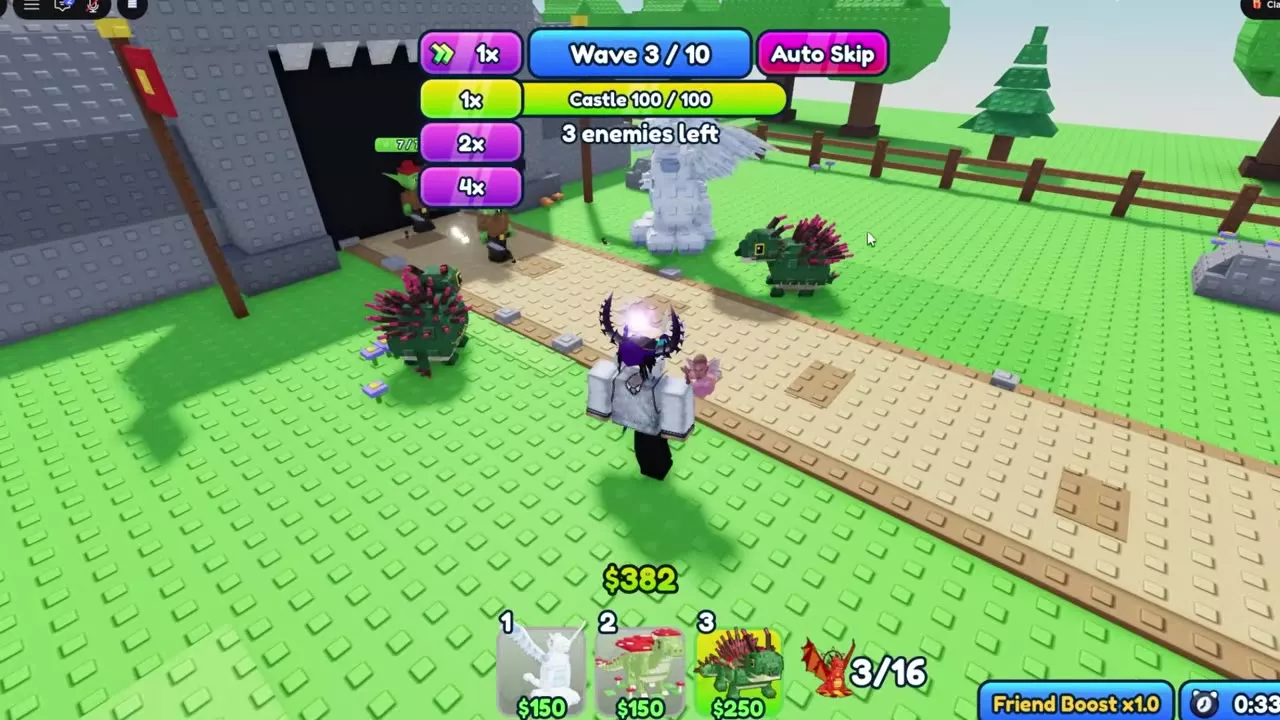
Use Auto Skip at the top of the HUD to toggle automatic wave advancement. Leave it off during a pressured opening so you have more time to place defenders, inspect panels and buy upgrades. Turn it on once your defense can handle faster progression.
A separate Skip button can appear while enemies remain. Use that control when offered if you want to advance manually.
Combining Auto Skip with high match speed leaves less time to manage the defense. If placement and upgrades feel rushed, disable Auto Skip and lower the speed while you stabilize.
Change regular-match speed
Open the current speed label at the top of the HUD, select an available multiplier and check the new label. If selecting 2x opens the Big Gumdrop Studios prompt, choose Join Community, then select 2x again.
| Speed | Access |
|---|---|
| 1x | Regular match |
| 2x | Regular match |
| 3x | Activated 3x Speed benefit |
| 4x | Active 4x Speed Potion |
The permanent 3x Speed benefit costs 399 Robux and comes as a ticket. Use the ticket in Shop to activate the benefit; an unused ticket can be traded. See gamepasses and ticket activation for the purchase and redemption details.
For 4x, choose Drink in Shop > Potions to activate 30 minutes of 4x match speed, then select 4x in battle. Selecting 4x without an active benefit can open a 40-Robux x4 Speed Potion purchase prompt. Cancelling that prompt leaves your current speed unchanged. See speed potions and boost interactions for the potion system.
Why speed returns to 1x
When enemies approach the castle, combat can automatically slow down with the message Enemies are close to your castle: back to 1x! This is a proximity warning, not simply a response to low castle HP. You can switch back to 2x later, but use the slower pace to reinforce the threatened section first.
Endless speed
Endless uses its own permanent speed upgrades. Open Endless Shop > Upgrades > Endless Speed. The first upgrade is free and changes 1x to 2x; the next step changes 2x to 3x, and the permanent upgrade path reaches 5x. Regular-match 4x potion access does not directly unlock the equivalent Endless speed. Use the Endless upgrade guide for the broader spending choices.
Sell, Rebuild and Revive
Sell and rebuild farther along the route
Select a deployed dragon and click Sell or press X. You receive the Cash return shown on its panel and free its deployment slot.
When enemies pass the front line, recover resources from defenders that can no longer reach them:
- Check which front-line dragons still have useful coverage.
- Read the Sell return on those that no longer contribute, then sell them.
- Deploy new defenders farther along the remaining route.
- Buy their upgrades with the recovered and remaining Cash.
- Switch to 1x if you need more time to place and upgrade.
In the Nightmare final-wave setup, selling ineffective front-line units reduced the counter from 16/16 to 13/16, making room for new Sun and Moon defenders near the castle. The new Sun was then upgraded to maximum level. Budget for the new units and their upgrades when deciding what to sell.
Revive the castle
At zero castle HP, the timed Castle Destroyed window offers revival choices. Any player can revive for the whole team. A successful revival restores the castle to 100/100 HP and pushes enemies back to the start.
Choose an available option before the countdown ends:
- Free Revive (daily): use the daily free option when available.
- Watch Ad: Revive: choose the offered ad revival.
- Revive: a 24-Robux option appears after the free revival is used in the Nightmare setup.
- No: decline revival.
After the castle returns, use the enemy pushback to upgrade or reinforce the remaining route. Revival resumes the fight; you still need to defeat the surviving enemies.
Endless revival options
- Bug Army: When the Golden Seed is destroyed, choose Use token if offered, or select Revive if the window offers it for 29 Robux.
- Candy Army: When the Candy Core is destroyed, select Revive before the countdown ends if you want to accept the 25 Robux offer.
For a future run, buy Endless Revive from the Endless Shop when it is in stock. It costs 300 Endless Crystals and gives you one free revival in a future Endless run.
Placement and Damage Guides
- Dragon placement and route coverage: match attack shapes to the road and position support within reach of its intended allies.
- Damage, attack intervals and DPS: compare matching configurations and distinguish individual hits from sustained output.
- Maps, difficulties and clear rewards: choose a map and open its full walkthrough for the deployment and upgrade route.
- Trade request controls: choose who can send requests and find the trading entrances.