
Dragon Tower Defense Nightmare Legendary Team Guide
Use Sun, Assassin, Moon and Dragoness to tackle Volcano Fortress without Mythic dragons. Build long-range damage and line coverage through the middle waves, then move your defense toward the castle for the final fight.
Open with an 800-Cash Sun and a 420-Cash Assassin from the 1,300-Cash starting budget. Develop two Moons on Strongest, evolve Sun for line attacks, and strengthen Dragoness before wave 30. Prioritize those three over early Assassin upgrades. On wave 60, sell units after enemies pass their coverage and rebuild Sun and Moon near the castle. This 60-wave route includes one castle revive before clearing Demon Lord and the remaining Hellhounds.
Legendary Core and Clear Outcome
Sun and Assassin cover the opening; Moon supplies long-range boss damage, while Dragoness supplies helpers. As the run develops, Sun's evolved line attack handles enemies along the road.
Favor developed Moons, useful Sun coverage and upgraded Dragoness over major Assassin spending. Keep Assassin at Level 1 until late game so its upgrades do not delay the main defense.
This is a revive-assisted clear of all 60 waves. Its recovery depends on moving damage toward the castle when the final enemies leave the opening defense behind.
Prepare 1,300 Cash and the Core Dragons
Equip Sun, Assassin, Moon and Dragoness. Enter through the Volcano Fortress Nightmare pad in the lobby, start through the party panel, and use preparation time to place your opening units.
The starting setup has 1,300 Cash, a 100-HP castle and a 16-unit deployment limit. All costs below are battle Cash.
| Dragon | Placement | Maximum-level total | Main role |
|---|---|---|---|
| Sun | 800 Cash | 10,900 Cash | Line clearing |
| Assassin | 420 Cash | — | Opening damage |
| Moon | 900 Cash | 10,700 Cash | Long-range damage |
| Dragoness | 1,000 Cash | 11,200 Cash | Helper support |
The maximum-level totals include placement and all upgrades for one unit. Spend 1,220 Cash on the opening Sun and Assassin, leaving 80 Cash. Build toward the larger totals over the run rather than saving for a complete unit before investing.
Establish Sun and Assassin
- Place Sun beside the road near the enemy entrance.
- Place Assassin nearby so both can attack the opening enemies.
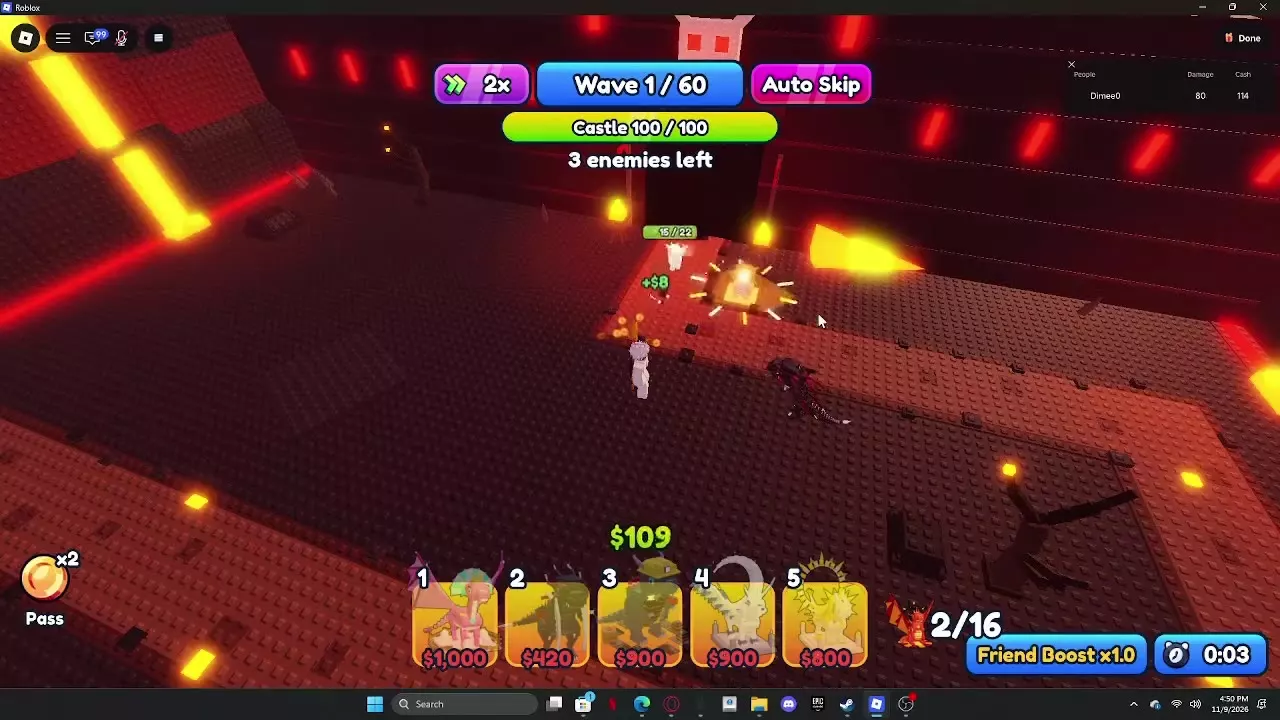
- Add more 800-Cash Suns along the route as income allows. Aim toward the early benchmark of five deployed units by wave 7.
- Enable Auto Skip around wave 5 once the opening defense is holding.
The early upgrade branch spends 350 Cash to raise Assassin to Level 2. Its following 550-Cash evolution changes its behavior sharply: damage rises from 40 to 750, but range drops from 21 to 12 and the attack interval increases from 0.90 to 12 seconds. That evolution trades frequent attacks for slow, heavy hits.
For the recommended investment order, leave Assassin at Level 1 and put the early upgrade budget into Sun and Moon. Enable Auto Skip based on whether enemies are being contained; it advances waves and does not strengthen the defense. See combat controls for targeting and upgrade shortcuts.
Develop Two Moons and Early Dragoness
- Place a Moon for 900 Cash and set its targeting to Strongest. Add a second Moon as funds allow.
- Spend 700 Cash to reach Level 2, then 900 Cash to reach Level 3 on each. Work toward two Level 3 Moons around waves 13–14.
- During wave 16, spend 1,300 Cash to raise one Moon to Level 4.
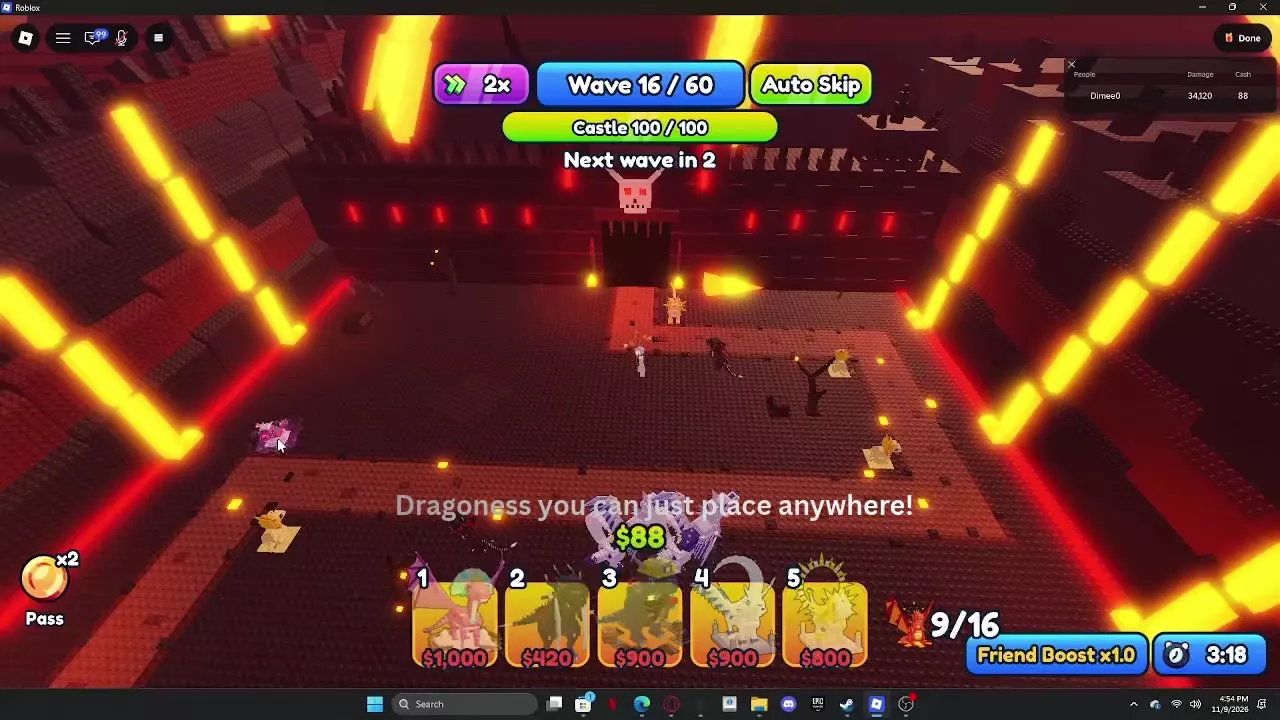
- After wave 16, place a 1,000-Cash Dragoness on the left side of the map. Add another before wave 19 as income permits.
Moon's long range lets it contribute across more of the route than the opening attackers. Strongest targeting gives the early Moons a boss-damage role while Sun handles nearby enemies.
Dragoness supplies helpers, so it has more placement flexibility than Sun's directional line coverage. Start developing it before the middle bosses; placing several Dragoness units without upgrading them leaves their support underdeveloped when pressure rises.
Build Through Hellhound and Magma Titan
Hellhound and the first maximum-level Sun
Bring the second Moon to Level 4 for 1,300 Cash before Hellhound arrives at wave 20 with 9,000 HP. Keep the early Moons on Strongest while maintaining Sun coverage for ordinary enemies.
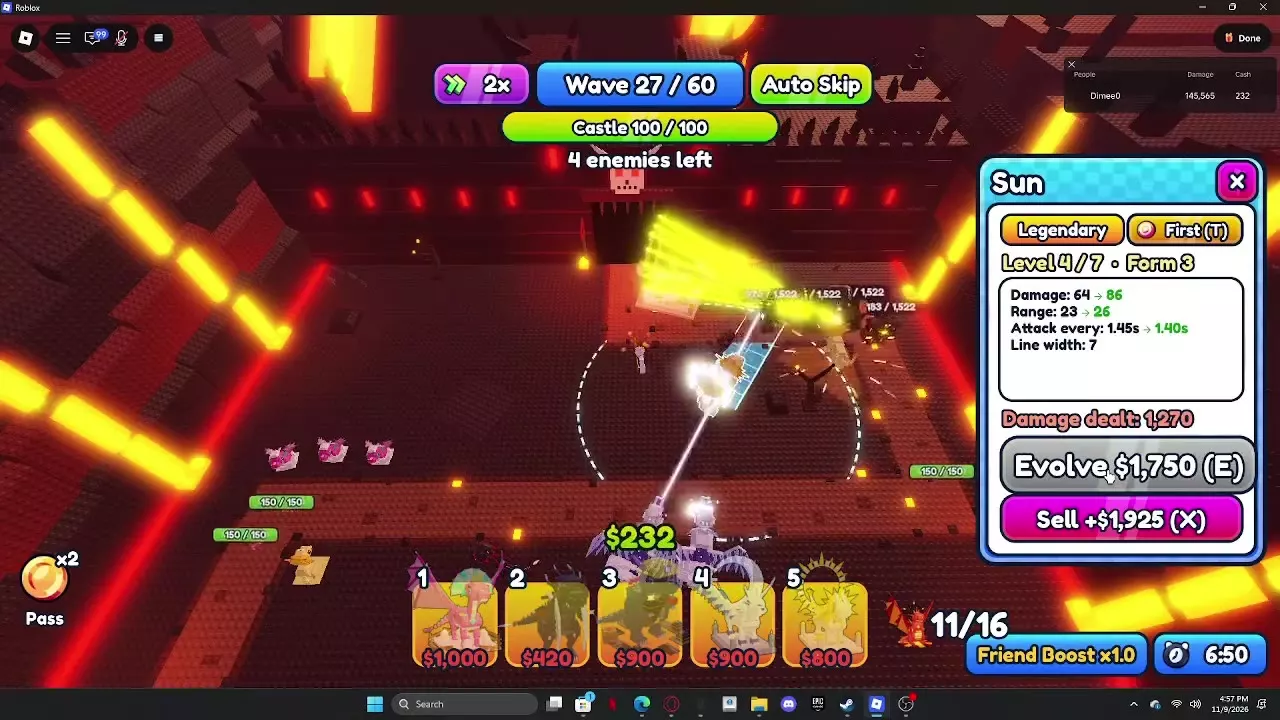
Evolve a Sun through the 750-Cash and 950-Cash steps to reach Level 3, Form 3. This unlocks its line attack with width 7. Place and aim its coverage along the road so the attack can catch enemies together.
During waves 21–25, concentrate investment on that Sun:
| Upgrade target | Cost |
|---|---|
| Level 4 | 1,350 Cash |
| Level 5 | 1,750 Cash |
| Level 6 | 2,350 Cash |
| Level 7 | 2,950 Cash |
At Level 7, Sun has 152 damage, 32 range and a 1.30-second attack interval. Keep firing through Hellhound's Triple Breath and Pack Call pressure. Auto Skip can begin wave 21 while the boss is still alive, so a new wave banner is not a signal to stop boss damage.
Extend coverage before wave 30
Place another 800-Cash Sun near the center. Develop it through the 750- and 950-Cash evolutions, followed by the 1,350-, 1,750- and 2,350-Cash steps. Use this second line attacker to extend damage beyond the entrance.
For Magma Titan at wave 30, spend 1,700 Cash to evolve a Level 4 Moon to Level 5. This gives it 367 damage, 67 range and a 3.40-second attack interval against the 16,000-HP boss. Keep attacking through Lava Slam and into wave 31 if needed.
Have upgraded Dragoness support ready before this stretch. In the revive-assisted clear, delayed Dragoness development was followed by the castle falling to 4/100 HP during wave 32. Earlier helper investment and stronger coverage address that dangerous transition; emergency placements after Magma Titan leave little recovery room.
Finish Moons and Strengthen Dragoness
Spend 2,300 Cash to raise a Level 5 Moon to Level 6, then 2,900 Cash to reach Level 7. Aim to finish the first established Moon around wave 36 and the second around wave 38. A maximum-level Moon delivers 668 damage at 75 range every 3 seconds.
At wave 40, Ash Witch enters with 18,000 HP. Switch to 1x speed while managing upgrades. Keep Sun and Moon attacking through Hex and Shadow Clones, and strengthen existing Dragoness units through these steps:
| Upgrade target | Cost |
|---|---|
| Level 2 | 750 Cash |
| Level 3 | 1,050 Cash |
| Level 4 | 1,400 Cash |
| Level 5 | 1,800 Cash |
Continue attacking if Ash Witch survives into wave 41. After the encounter, add another Moon and develop it through the same progression as the first pair.
During waves 44–48, bring established Dragoness units toward Level 5 or 6 and finish remaining Sun and Moon upgrades. Favor these developed defenders over filling the remaining slots with weak placements: the existing Moons already cover a large area, and their later upgrades increase both damage and reach.
Fight Shields and Phoenix Rebirth
Obsidian Knight at wave 50
Before wave 50, add another 900-Cash Moon and spend 700, 900, 1,300 and 1,700 Cash to reach Level 5, Form 4.
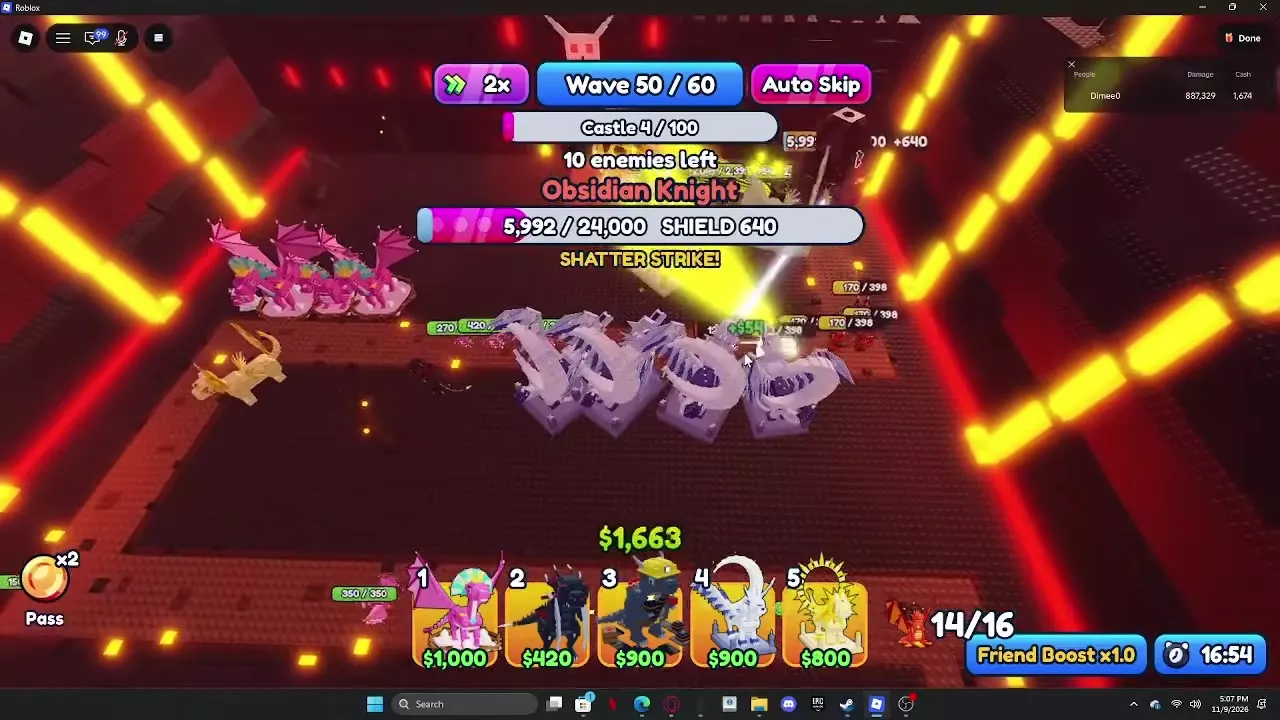
Obsidian Knight has 24,000 HP and a separate Glass Shield value. Keep attacking while the shield is active: damage reduces the shield before the boss's HP falls again. Be ready for another shield activation during the same fight.
Adjust targeting as the boss moves. Keep a developed Moon on Strongest, and switch a Sun from First to Last when that gives its line attack useful coverage. Other attackers can remain on First to handle enemies farther along the road. Continue through Shatter Strike and Stunned prompts until the encounter is cleared.
Between waves 50 and 51, spend 2,300 Cash to upgrade a Level 5 Dragoness to Level 6. During waves 52–54, develop a remaining low-level Sun and finish another Moon with its 2,300- and 2,900-Cash upgrades.
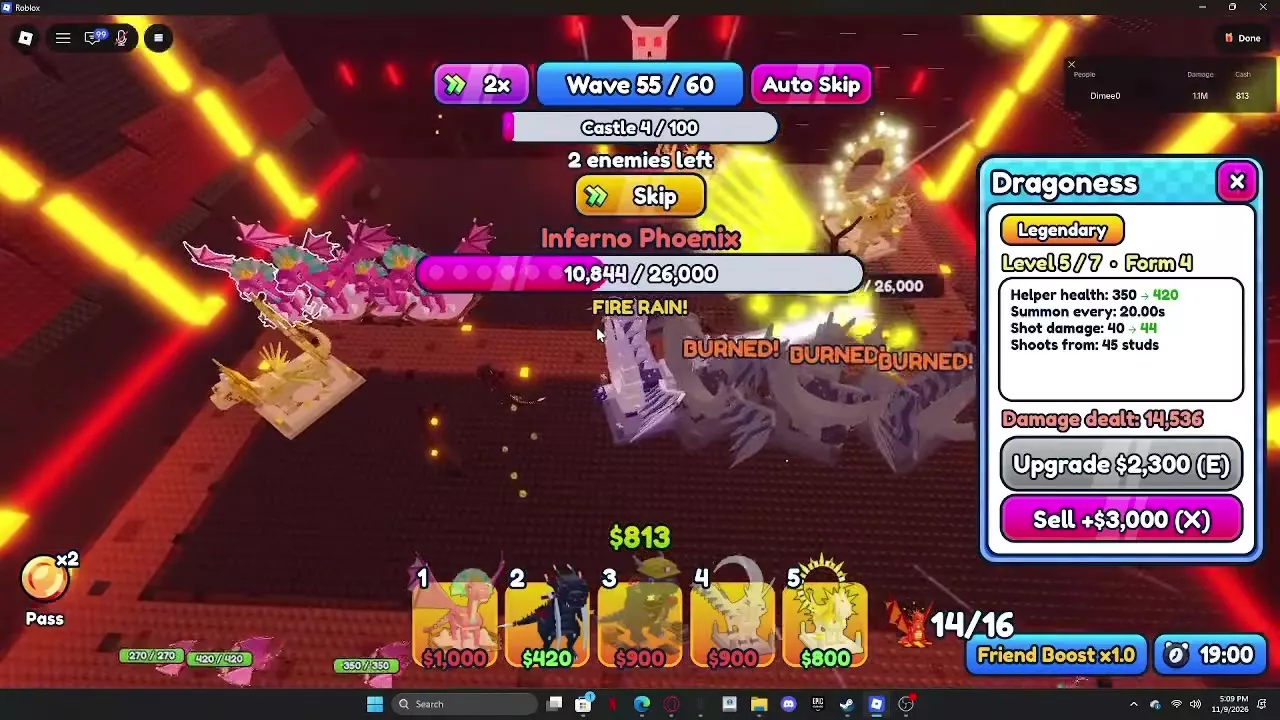
Inferno Phoenix at wave 55
Inferno Phoenix enters with 26,000 HP. Spend 2,900 Cash to bring a Level 6 Dragoness to Level 7 during this fight. At maximum level, its helpers have 500 HP, summon every 20 seconds, and shoot for 48 damage from 45 studs.
Keep the defense firing through Fire Rain and Burned prompts. Rebirth restored Phoenix to 13,000/26,000 HP in this encounter, so continue through that additional health segment before shifting investment toward the final waves.
Rebuild for Demon Lord and Finish
Use the remaining two deployment slots for Moons, then upgrade them. Favor additional developed Moons and Dragoness over late Assassin spending: Moon's reach helps it keep attacking as the final enemies advance, while Assassin's evolved attacks have a long interval and shorter range.
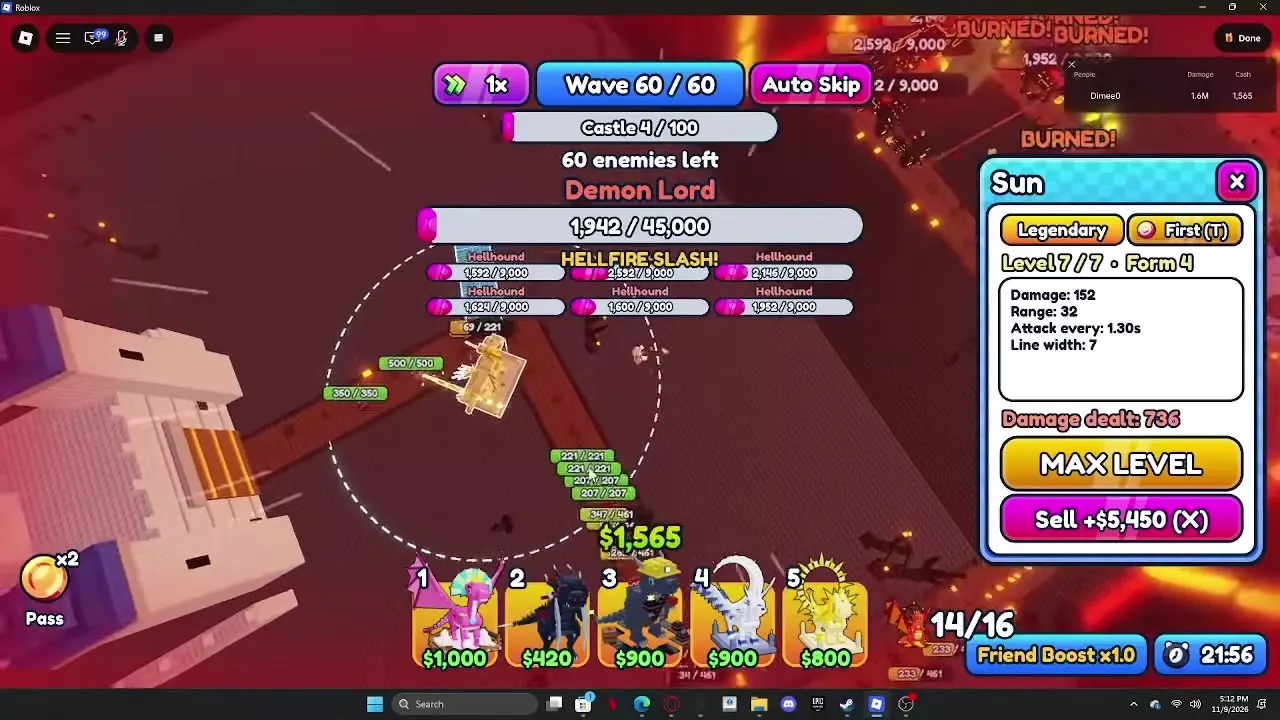
At wave 60, prepare for Demon Lord with 45,000 HP in this Legendary route, accompanied by multiple 9,000-HP Hellhounds. Maintain damage against the whole wave through Second Phase and Hellfire Slash.
- Watch where the enemies are moving relative to your front-line attack ranges.
- Once they pass those units' useful coverage, select the ineffective defenders and use Sell or X. This recovers Cash and frees deployment slots.
- Rebuild beside the road near the castle. Place an 800-Cash Sun, upgrade it, then add a 900-Cash Moon. A maximum-level Sun sells for 5,450 Cash, giving you funds for a replacement and some upgrades.
- Switch to 1x speed while placing, upgrading and adjusting targets. Keep the replacement Sun's line attack covering the remaining approach.
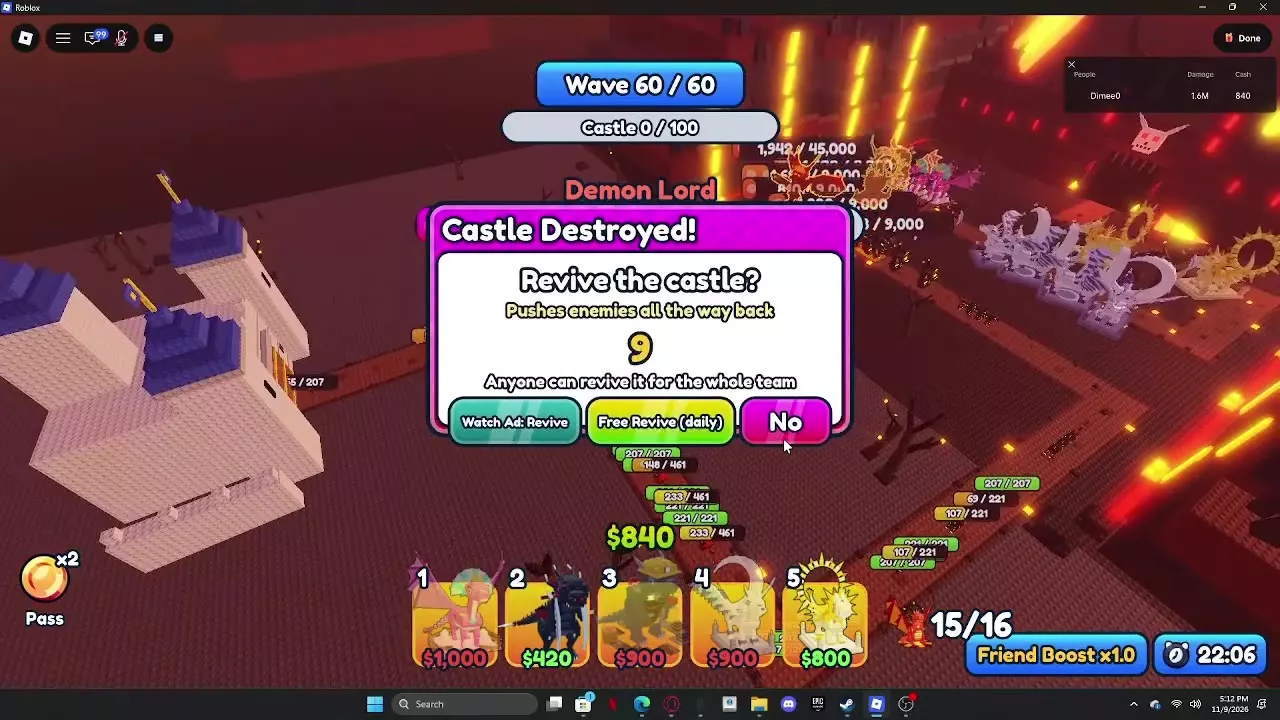
- If the castle is destroyed, use an available revive before the countdown expires. The revive window offers Watch Ad: Revive and Free Revive (daily). A revive restores the castle to 100 HP and pushes enemies back for the whole team.
- Resume upgrades and clear Demon Lord, the Hellhounds and every remaining enemy. After the revive, another 2,300-Cash Dragoness upgrade from Level 5 to Level 6 supports the finish.
The clear reaches Victory after one revive. Killing Demon Lord alone does not finish the map while Hellhounds or other wave-60 enemies remain.
Rewards and Alternative Routes
A wave-60 victory awards 1,200 base Coins. With the 2x Coins Pass, that becomes 2,400 Coins. The revive-assisted Legendary clear also awarded one Trait Shard as an additional reward in that run.
For teams using other rarities, follow the Nightmare guide and team routes. Use the dragon directory for individual unit details and the boss directory to look up encounter waves and abilities.