Dragon Tower Defense Sunny Meadow Easy Guide
Clear Sunny Meadow by upgrading your opening attacker, covering the road bends, and adding another firing position before enemies reach the castle. Follow the Leaf route for a 20-wave match or the Cloud, Thorn, and Mushroom route for a 10-wave match.
For 20-wave Easy, place Leaf for $150, then spend $150, $250, and $400 to reach Level 4 before expanding your Leaf defense toward the castle approach. Defeat the 850-HP Goblin King on wave 20. For 10-wave Easy, open with a $250 Thorn and $150 Cloud, develop the mixed defense, and add a downstream Mushroom before fighting the 400-HP Goblin Brute. Both solo routes can finish with Castle 100/100. For repeat 20-wave clears, build a Strength I Shadow on each side of the castle entrance, then add a Speed III Minigunner once both Shadows reach Level 6.
Choose Your Easy Route
Match your plan to the wave total displayed in your battle.
| Route | Team | Final wave | Final boss |
|---|---|---|---|
| Leaf | Leaf | 20 | Goblin King |
| Mixed | Cloud, Thorn, Mushroom | 10 | Goblin Brute |
The Leaf route is a straightforward choice if Leaf is your available starter: concentrate spending on one attacker, then repeat that defense along the road. The mixed route combines Cloud's longer reach with Thorn and Mushroom attacks that target several different enemies.
Both routes can preserve all 100 castle HP. In the 20-wave route, the wave 10 boss is an intermediate encounter; keep building until wave 20.
Prepare Your Team and 600 Cash
Equip Leaf for the Leaf route, or Cloud, Thorn, and Mushroom for the mixed route. Enter the lobby waiting area labeled Sunny Meadow — Easy and join the match.
The solo opening has $600 Cash, 100 castle HP, and a 16-unit deployment limit. Dollar amounts in this walkthrough refer to battle Cash; victory rewards use Coins.
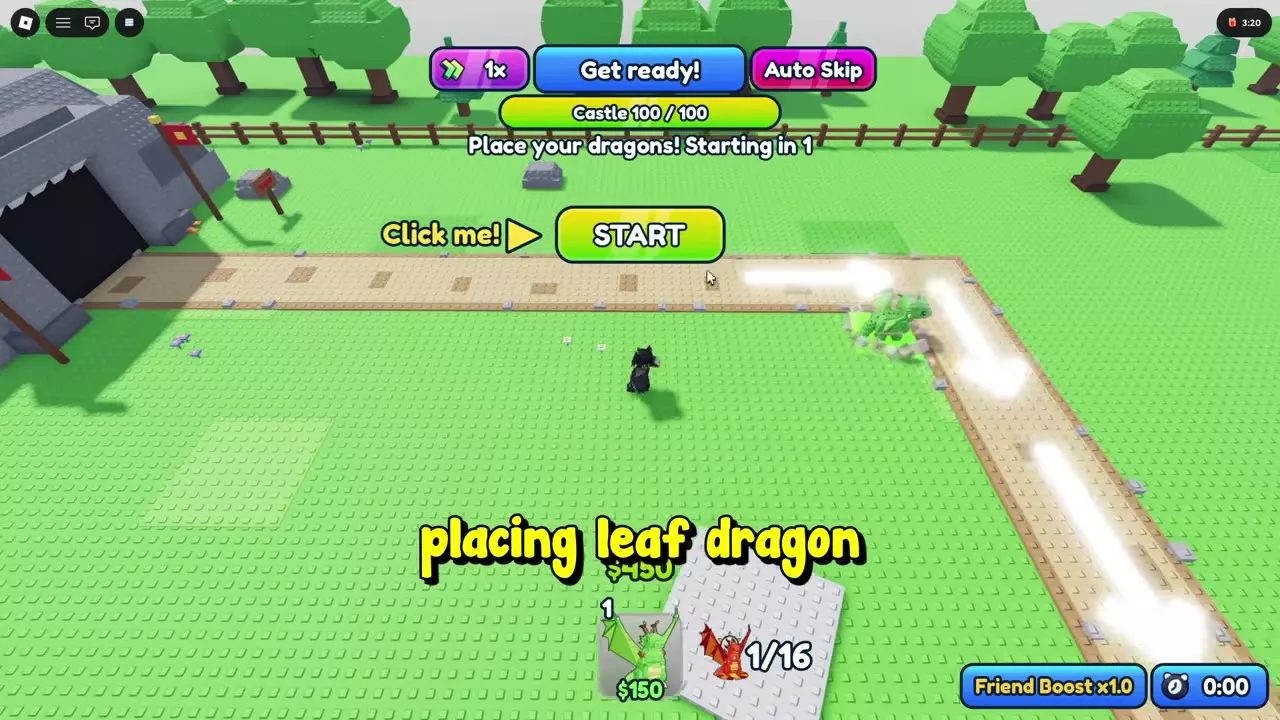
Select your opening dragon from the bottom bar, place it on the grass beside the road, and press START. Use the placement range circle to include the road in its attack area. Enemies travel from the cave exit toward the castle, so bends and the castle approach provide useful positions for continued coverage.

Build the First Upgraded Defender
Leaf route
- Place your first Leaf beside a road bend for $150.
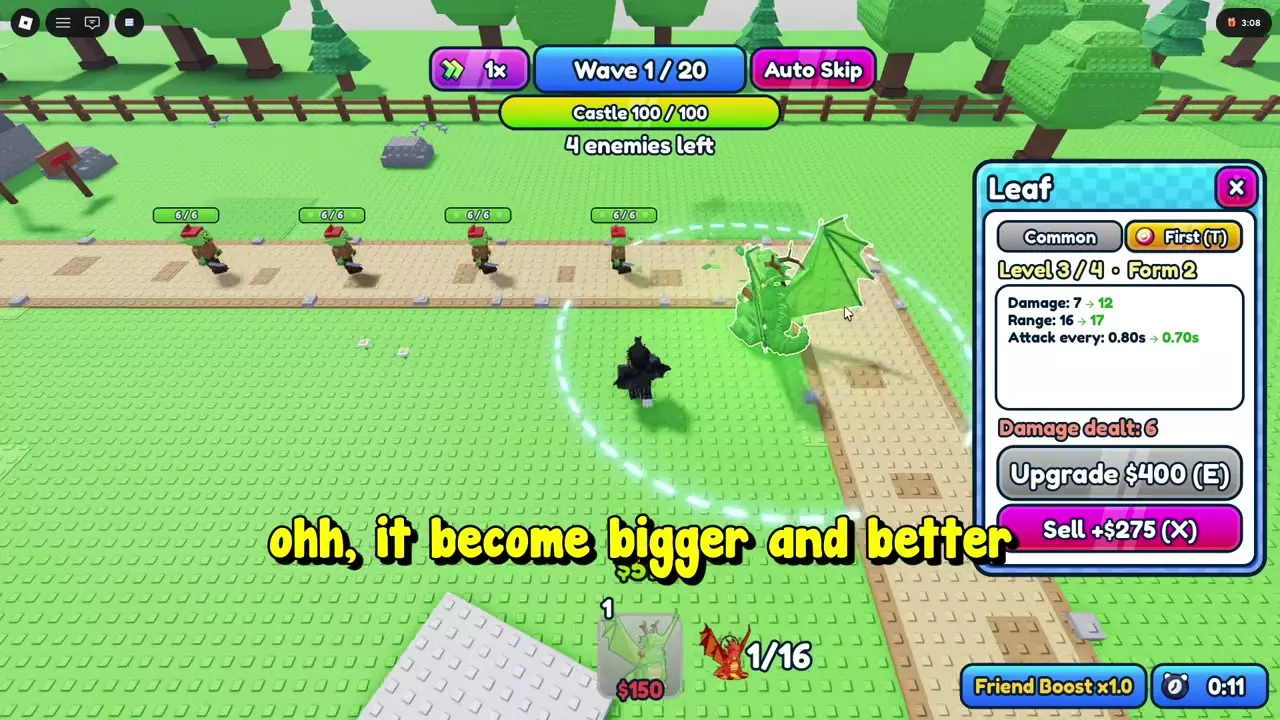
- Select it and choose Evolve, or press E, for $150 to reach Level 2, Form 2.
- Pay $250 to upgrade it to Level 3.
- Save $400 for Level 4, its maximum level.
Deployment and all three upgrades cost $950 total, so the opening $600 needs another $350 of battle income to complete this first attacker. Prioritize those upgrades before spreading spending across more Leaf units. At Level 4, Leaf deals 12 damage every 0.70 seconds with 17 range, improving both its firing speed and coverage over Level 1.
Mixed route
- Place a $250 Thorn beside the road.
- Add a $150 Cloud on the opposite side.
- Add a second Thorn across the route as income allows.
- Develop the first Cloud to Level 4: $150 to evolve, $250 for Level 3, then $400 for Level 4.
The first Thorn and Cloud cost $400, leaving $200 from the starting budget. Wait for income before placing the second $250 Thorn. Cloud supplies the opening team's longer reach; Thorn fires three thorns at different enemies, helping handle groups rather than concentrating all three projectiles on one target.
Cover Bends and the Castle Approach
Expand the Leaf defense
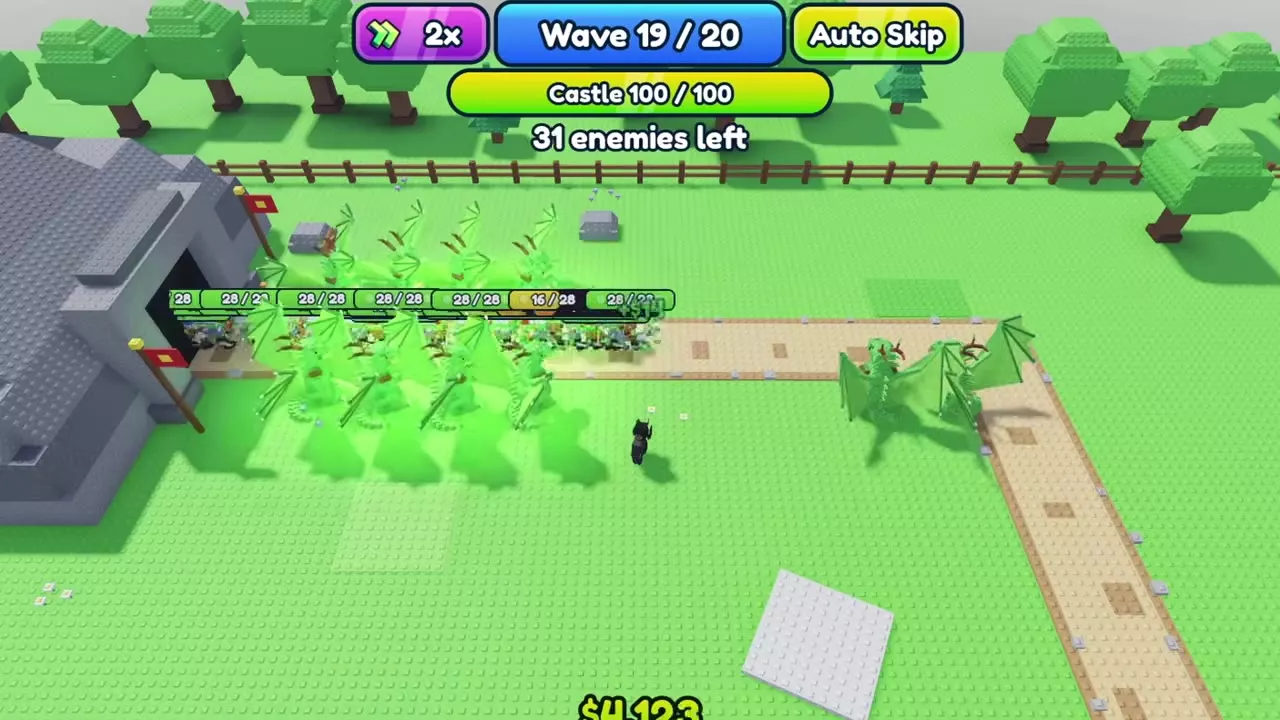
After the first Leaf reaches Level 4, add more Leaf units around the existing defense and near the cave exit. A successful progression reaches three deployed units by wave 6 and four by wave 8. Use these as pacing targets while continuing to upgrade.
Through the later waves, extend overlapping attack areas around bends and toward the castle approach. A dragon farther along the road can keep attacking enemies after they leave the opening position's range.
Keep enough Cash for the next planned upgrade. If Not enough cash appears, the action has not completed; wait for income before trying again. Once the defense is keeping up, 2x speed and Auto Skip can shorten the wait between building decisions.
Develop the mixed team
Continue from the first max-level Cloud in this order:
- Evolve a Thorn to Level 2 for $275.
- Place another $150 Cloud near the cave exit. Evolve it for $150, then spend $250 to reach Level 3.
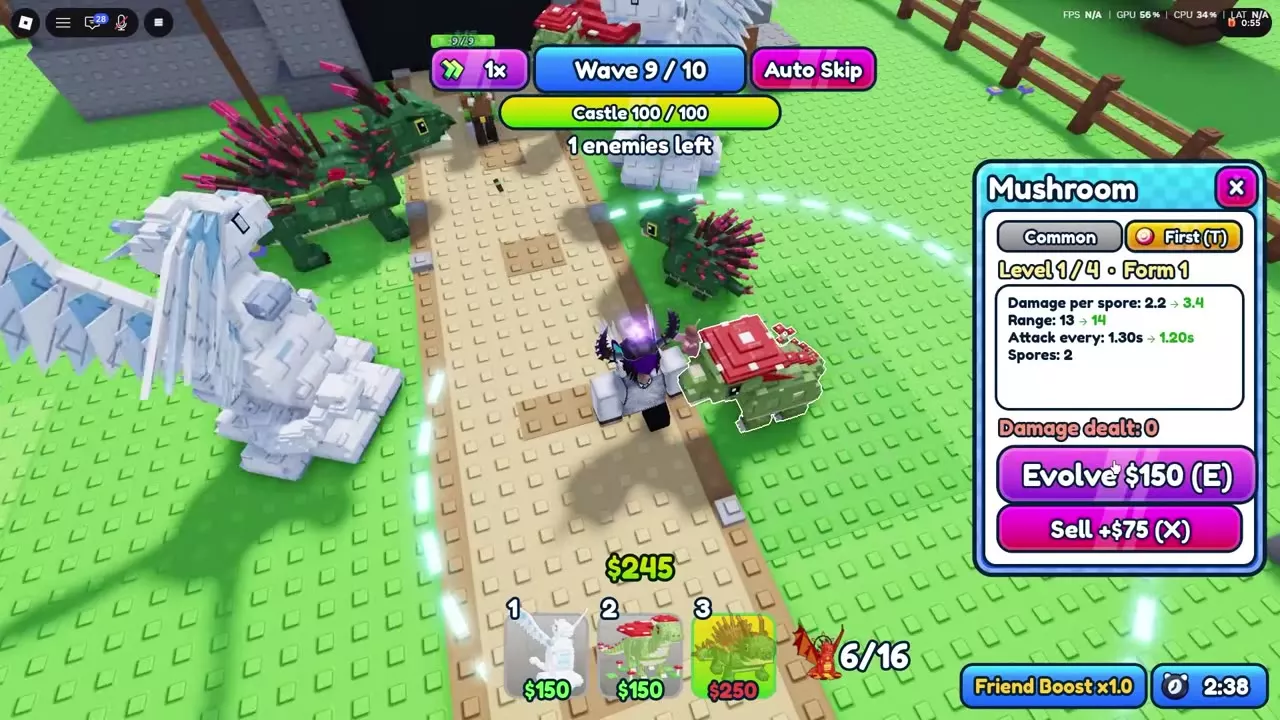
- Place a $150 Mushroom beside the cave exit. Spend $150 to evolve it and $250 to reach Level 3.
- After wave 7, upgrade the developed Thorn to Level 3 for $425.
- During wave 9, spend $650 on that Thorn's final upgrade to Level 4.
- When enemies advance beyond the opening defense, place another $150 Mushroom farther down the road and evolve it for $150.
Mushroom fires two spores at different enemies, making the extra position useful for cleaning up groups that pass the front line. Place this reinforcement where it can attack the advancing enemies; another unit confined to the cave exit will lose contact with the same escapees.
Finish Goblin Brute or Goblin King
Goblin Brute: 10-wave mixed route
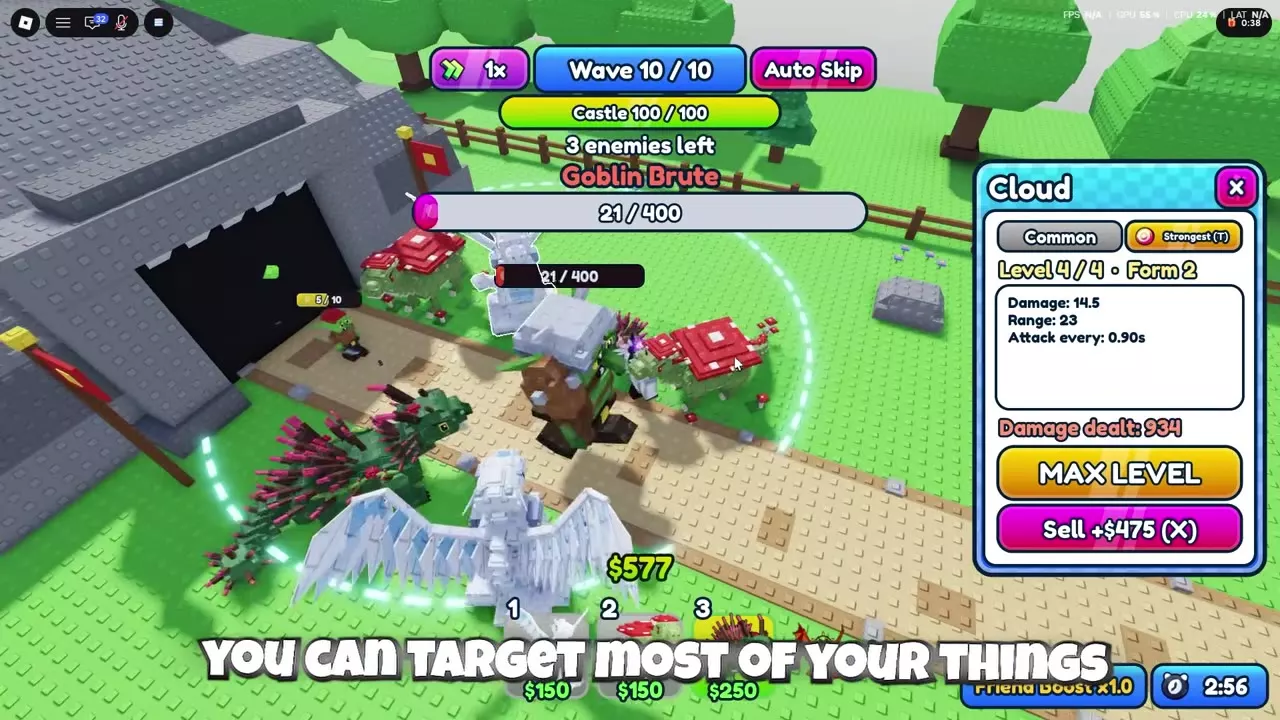
Goblin Brute has 400 HP in the solo 10-wave encounter. Enter the final wave with your developed Cloud and Thorn supported by Mushroom coverage farther along the road.
Select an attacker that can reach the boss, then use the target control marked T to choose Strongest. A max-level Cloud can use this setting to focus Goblin Brute while the rest of the defense attacks nearby enemies. Finish the boss and the remaining enemies to complete wave 10.
Goblin King: 20-wave Leaf route
Goblin King has 850 HP in the solo 20-wave encounter. Prepare multiple Leaf firing positions before wave 20, with overlapping coverage near bends and the castle approach. Keep attacking as the boss moves through those areas, and finish the remaining enemies after it falls.
On the 20-wave Leaf route, defeat the 400-HP Goblin Brute on wave 10 and keep your Leaf units in place for wave 11. You still have ten waves to defend before the clear.
Repeat the 20-Wave Run with Two Shadows
For this solo route, equip Shadow with Strength I and Minigunner with Speed III. Use the following upgrade timing when Shadow costs $360 to place.
- Start with $600 Cash. Face the castle entrance and place the first Shadow on the grass just to the right of the road.
- Spend the next few waves upgrading that Shadow. On wave 2, evolve it to Level 2 for $270. On wave 3, upgrade it to Level 3 for $405. On wave 5, evolve it to Level 4 for $743, then spend $1,013 on wave 6 to reach Level 5.
- On wave 8, place a second Shadow on the left side of the road, across from the first. Evolve it to Level 2 that wave for $270, then upgrade it to Level 3 on wave 9 for $405.
- Bring both Shadows to Level 6 before adding Minigunner. Budget $1,373 for each final upgrade. If you are short on wave 14, let the pair keep attacking and finish the upgrade as income comes in.
- Place Speed III Minigunner near the Shadows so all three can fire on the castle approach. Upgrade it as you earn Cash. Its $1,900 evolution from Level 4 to Level 5 adds a second minigun. After clearing wave 20, choose Play Again to repeat the route.
Allow about 1 minute 35 seconds for this setup at 4x speed with a 4x Speed Potion, or about 3 minutes 10 seconds at 2x speed. One 20-wave clear paid 450 Coins with both Coin bonuses active: 150 base Coins, 150 from the 2x Coins Pass, and 150 from the Coins Potion.
Rewards and Repeat Clears
| Easy clear | Base reward |
|---|---|
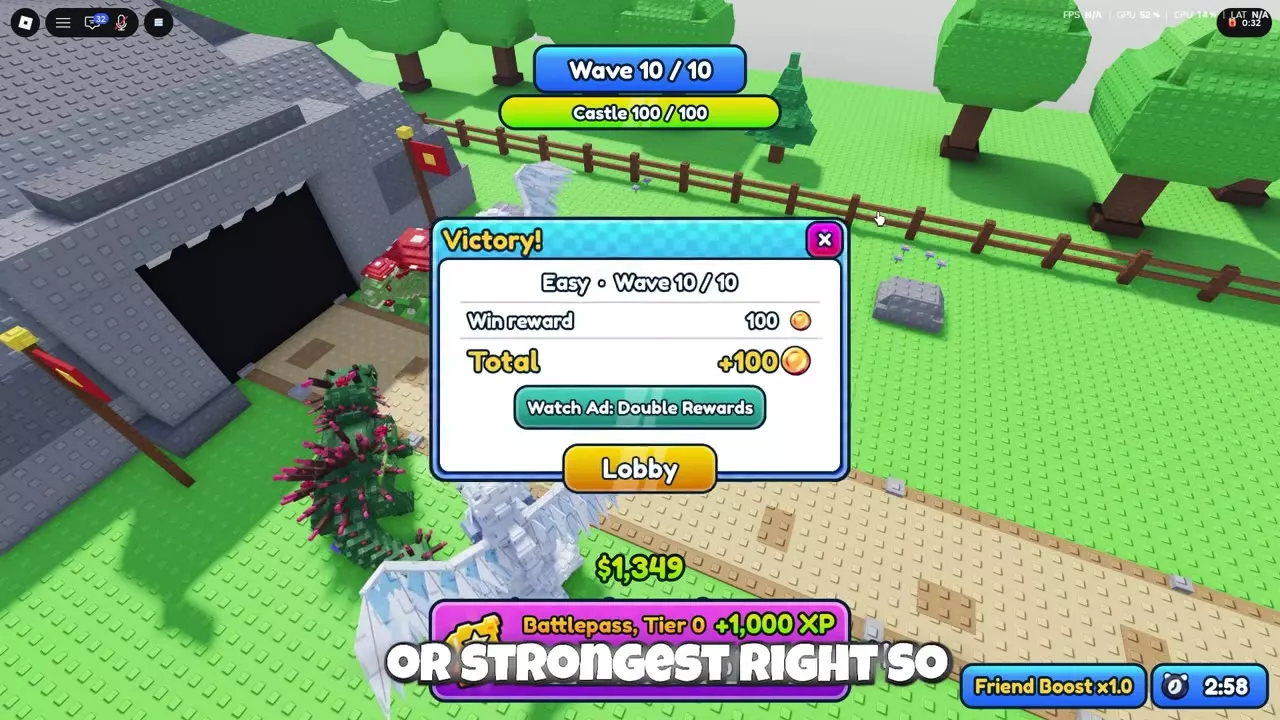
| 10 waves | 100 Coins |
| 20 waves | 150 Coins |
With only the 100-Coin Welcome Bonus, a 10-wave clear pays 200 Coins in total. A 20-wave clear with a 100-Coin Welcome Bonus totals 250 Coins. With an active Coins Potion, a 20-wave clear awards 150 base Coins + 150 bonus Coins = 300 Coins.
The Easy entrance reward preview also lists a 2% Trait Crate chance.
Once you have Shadow, developing it to Level 6/6, Form 3 gives a repeat-clear option with 31 range and a 0.15-second attack interval. Its reach and fast attacks help it cover the Easy route efficiently. Use Play Again when offered to repeat a clear, or Lobby to return and change your team. The result screen also offers Watch Ad: Double Rewards.
Normal Difficulty and Collection
- Move on to the Castle Town Normal walkthrough for the 30-wave route built around Assassin, Gold, Minigunner, and Bomb.
- Use the Coin earning guide to compare repeat clears with other rewards and income sources.
- Open Index after discovering dragons to claim available discovery rewards. The Units and Index guide covers equipping your next team, managing inventory space, and collecting those rewards.