
Dragon Tower Defense: Best Dragons by Role
Choose a dragon that fixes your defense’s current weakness: scattered enemies, a tough target, limited Cash or too little time to attack. Match its attack pattern and upgrade budget to the job before investing.
Prioritize Void for simultaneous multi-target coverage, Minigunner for rapid repeated hits, and Titan for splash attacks and lava pools when you can fund its growth. Choose Gold for a smaller opening investment, Gumball for higher maximum income per deployment slot, and Sugar Rush to boost developed attackers. Use Ice for frequent slows or Nebula to send groups backward.
Choose for the Role Your Defense Needs
| Defense need | First choice | Main advantage |
|---|---|---|
| Several enemies at once | Void | Separate beam targets |
| Rapid repeated hits | Minigunner | Short attack interval |
| Splash and persistent damage | Titan | Attacks leave lava pools |
| Low-cost income | Gold | 300 Cash deployment |
| More income per slot | Gumball | 1,000 Cash/wave at maximum |
| Boosting developed attackers | Sugar Rush | Damage, speed and range |
| Repeated slowing | Ice | Cone slow |
| Sending groups backward | Nebula | Group teleportation |
Choose Void when several enemies need attention across a broad stretch of road. Choose Minigunner when a target stays within reach and needs repeated hits. Choose Titan when your defense can support a much larger investment in area damage.
Build attacking strength before expanding income. Gold and Gumball help fund later upgrades, while Sugar Rush becomes more valuable when its coverage contains attackers you have already developed. Control units buy those attackers more time to work.
Match Growth and Budget
Compare dragons at matching growth stages, with traits and support buffs kept separate. A maximum-level damage figure describes a developed unit; your opening budget must also carry it through the upgrades needed to reach that point.
| Dragon | Deployment | Complete build |
|---|---|---|
| Rock | 325 Cash | 3,950 Cash |
| Moon | 900 Cash | 10,700 Cash |
| Sun | 800 Cash | 10,900 Cash |
| Dragoness | 1,000 Cash | 11,200 Cash |
| Titan | 1,800 Cash | 46,100 Cash |
Complete-build costs include deployment and all upgrades at the listed base prices. Rock offers an affordable straight-line attacker to finish developing. Titan requires eleven upgrades after placement, so being able to deploy it is only the start of its budget commitment. Moon, Sun and Dragoness each cost far less to complete and fill complementary roles in a Legendary Nightmare defense.
Shadow’s base deployment cost is 400 Cash. At Level 6, a regular Shadow with no trait or Talent upgrades has 31 range and fires a shadow bolt every 0.15 seconds. For your first dragon, choose Cloud for longer reach, Leaf for fast shots or Water for harder individual hits.
Traits can address a specific weakness without changing the dragon’s underlying attack pattern. Annihilator gives 2x damage, Rapid Fire gives +25% attack speed, and Sharpshooter gives +50% range. Berserker combines +20% damage with +10% range; Strength III supplies the same damage bonus without that extra reach. Keep these bonuses separate when comparing units.
Direct Hits, Beams and Area Damage
Void and Minigunner
Void’s beams attack different enemies simultaneously. Its unbuffed growth increases beam count from three to eight and range from 30 to 46. Position it where several enemies remain within reach; eight beams do not mean eight guaranteed hits on one boss.
Minigunner delivers rapid bullet attacks. Without trait or support bonuses, its attack interval improves from 0.12 to 0.07 seconds and its range grows from 22 to 32. Level 5 adds a second minigun. Favor it where its shorter reach still gives sustained access to enemies.
Void costs 800 Cash to deploy and Minigunner costs 900. Both reach Level 2 with 1,650 Cash invested. They can work together: establish the opening with Minigunner, then develop Void for wider multi-target coverage. The Void vs Minigunner comparison covers their matching-stage stats and evolution tradeoffs.
Titan and Prism
Titan combines splash hits with lava pools that last three seconds. At maximum level without trait or support bonuses, it has 2,000 direct damage, 240 lava damage per second and 60 range. Favor road coverage that keeps enemies inside the pools, and fund its growth after securing the opening.
Prism costs 1,800 Cash to deploy. It grows from 50 to 100 range, three to seven portals and 40 to 1,000 damage per beam. Its base blast radius is 6. The first level of Wide Beams increases each beam’s blast area by 5%. Use that reach to access distant enemies, while positioning for groups close enough together to benefit from its small blast area.
Sun and Moon
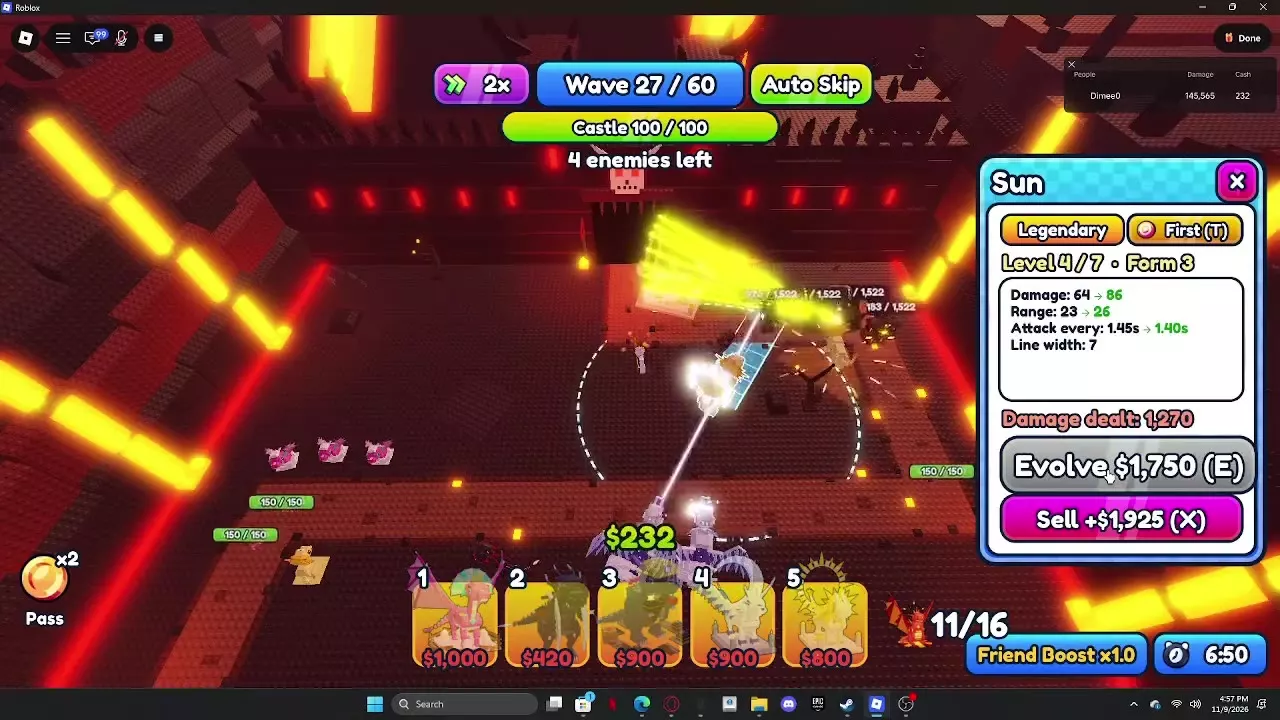
Sun begins as a nearby area attacker. At Level 3, Form 3, it gains a line attack with width 7 and 20 range. Place it close enough to contribute early, with a useful stretch of road for its evolved attack.
Moon supplies long-range damage and reaches 75 range at maximum level. In the Legendary Nightmare core, Moon handles tough targets while evolved Sun clears enemies along its line. These roles make them complementary investments.
Burn, mines and separate projectiles
- Fire: Choose it for splash damage plus burn alongside direct attackers. At maximum growth, its burn deals 24 damage per second for 3.5 seconds. Its 800-Cash deployment is followed by a 600-Cash first evolution.
- Bomb: Choose it to lay mines along the road. Growth improves mine damage and capacity, and later forms add cluster bombs. At Level 7, it supports 22 mines and produces three cluster bombs.
- Mushroom: Its two spores attack separate enemies. The 150-Cash placement makes it an inexpensive way to add early multi-target coverage.
- Thorn: Its three thorns also select different enemies. At 250 Cash to deploy, it offers another early group-coverage option rather than concentrating all three projectiles on one target.

Chain Attacks, Helpers and Control
Storm and Tempest
| Attribute | Storm | Tempest |
|---|---|---|
| Base deployment cost | 500 Cash | 1,250 Cash |
| Maximum level | 6 | 9 |
| Jump targets at max level | Up to 7 | Up to 55 |
| Attack interval at max level | 1.3 seconds | 6 seconds |
| Range at max level | 23 | 42 |
| Jump distance at max level | 12 | 20 |
Favor Storm for frequent attacks against smaller groups. Tempest suits much larger groups, with longer reach and more distance between chain targets, but a longer wait between attacks. Its 55-target capacity is most useful when enough enemies are grouped to use it.
Spirit, Dragoness and Candy King
Spirit summons ghost helpers from the castle every 25 seconds. They travel along the road and attack enemies they encounter. At maximum growth, its helpers have 350 HP and deal 25 shot damage with a 1.25-second shooting interval.
Dragoness summons every 20 seconds. Its Level 1 helpers have no shooting distance; the Level 2 evolution adds shooting, and further growth extends their reach. At maximum level, they have 500 HP, 48 shot damage and 45 studs of shooting distance. Invest before you need that developed helper coverage.
Candy King also summons every 20 seconds. Its maximum-growth helpers have 3,000 HP, 200 shot damage and splash 8. Favor Candy King when helper durability and harder splash shots are your priorities; Dragoness offers a clearly defined long-range shooting role as it develops.
Ice, Nebula and Boulder
Choose Ice for repeated cone slows. Its slow improves from 35% for 1.5 seconds to 55% for 2.5 seconds, while its cone widens from 40 to 60 degrees. Position it where the cone catches enemies inside your damage coverage.
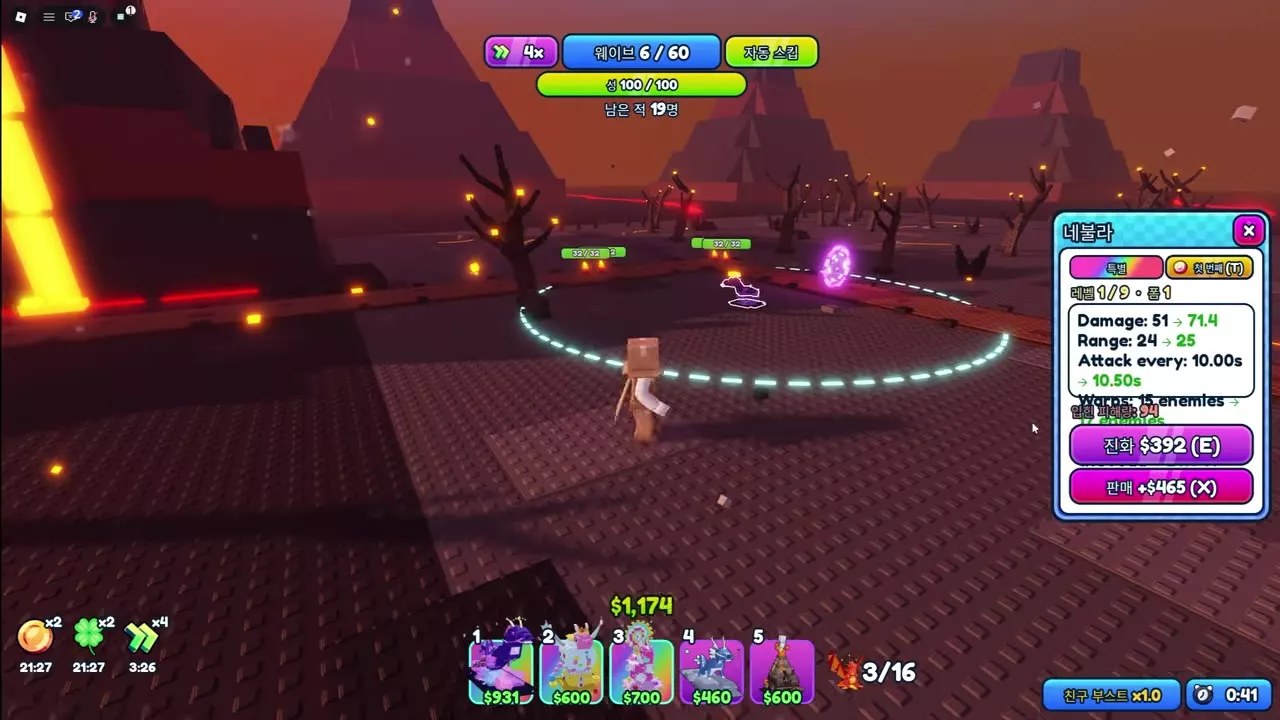
Choose Nebula to send enemies backward along the road. At first, Nebula can send up to 15 enemies back by 20% of the road’s length every 10 seconds. At maximum growth, it can send up to 45 enemies back by 30% every 14 seconds. Use the extra distance to give your attackers another pass at the group. Nebula Portal cannot keep sending the same enemy back indefinitely.
For 600 Cash, place Boulder directly on the road within reach of your attackers. Regular enemies stop to attack it until it breaks. Bosses break through and keep moving while dazed.
Directional beams, missiles and moons
- Hydra: Its heads charge together before firing down a directional rectangular lane. Inspect that lane after placement and choose a position where it follows the road; the surrounding range circle alone does not describe its beam coverage.
- Mech: Homing missiles rise into the air and descend onto enemy groups. Its growth increases missile count from three to twelve and splash radius from 3 to 5. Evaluate damage per missile together with the volley and splash coverage.
- Comet: Choose it for splash attacks on clustered enemies. Its splash radius grows from 8 to 10, with range increasing from 22 to 30.
- Planet: Its growth increases moon count from one to five and moon size from 2.2 to 3.4. It develops from a 3-second to a 0.44-second attack interval, while range grows from 16 to 20. Give it close road access so that growth contributes throughout the fight.

Income and Buff Investment
Gold or Gumball
| Income dragon | Deployment | Initial payout | Maximum payout |
|---|---|---|---|
| Gold | 300 Cash | 50 Cash/wave | 400 Cash/wave |
| Gumball | 600 Cash | 100 Cash/wave | 1,000 Cash/wave |
Choose Gold when preserving opening Cash matters. Choose Gumball when you can afford the larger investment and want more income from each deployment slot.
With 600 Cash, two Level 1 Gold Dragons and one Level 1 Gumball both produce 100 Cash per wave. The Gold pair occupies two deployment slots; Gumball occupies one. At maximum level, Gumball produces 2.5 times Gold’s income per deployed unit. Gold costs 3,000 Cash to deploy and fully upgrade.
Expand income while your attackers hold the road. If enemies are escaping, invest in damage or coverage first. For individual upgrade recovery and remaining-wave decisions, use the Gold vs Gumball guide.
When Sugar Rush is worth the slot
A regular Sugar Rush costs 700 Cash to place and boosts attackers inside its coverage. At Level 6, its boost circle reaches 18 and grants +30% damage, +25% attack speed and +3 range.
Place it where it covers developed attackers. Select Sugar Rush to inspect the blue coverage circle, then check for candy markers on the intended recipients. A support unit placed outside your main attackers’ reach adds little to the defense; improving coverage is part of the investment decision.
Keep Assassin’s role small in the Legendary core
In the Legendary Nightmare route, use Assassin’s 420-Cash opening configuration to preserve funds for Moon, Sun and Dragoness. Favor leaving Assassin at Level 1 until late game while developing those core units.
Its Level 3 evolution changes the attack interval from 0.9 to 12 seconds and reduces range from 21 to 12. That change makes continued Assassin investment a different commitment from maintaining its inexpensive opening role. Prioritize Moon’s long-range damage, Sun’s line coverage and Dragoness helpers during the main buildup.

Builds and Detailed Comparisons
The creator of Dragon Tower Defense.. rates Void as the best Mythic for its eight-beam multi-target performance in a Nightmare setup using Range II and Sugar Rush. That recommendation favors broad wave coverage; Minigunner retains its rapid-hit opening role.
- Build a team around an affordable opener, economy and complementary damage roles.
- Browse the Dragon Directory for acquisition routes and complete growth details.
- Follow Nightmare with Legendary Dragons for the Sun, Moon and Dragoness investment sequence and late-wave recovery.
- Use the Endless strategy to connect dragon choices with relics, control and progression between runs.